Serving vector tiles with Martin
There are some amazing tools out there, and they are getting build fast. I haven’t had the opportunity to work with vector tiles during my day-to-day jobs, but I wanted to explore what it is and how to set some things up, just for the fun of it. We’ll see here how to start using Martin, a vector tile server built in Rust serving PostGIS data.
Vector tiles
The standard has been set by Mapbox. In the same manner a WMTS serves raster tiles, vector tiles allow for the visualization of large volumes of data over the web, but as their name suggests, they are vectors.
It comes with some advantages compared to raster formats:
- It’s significantly lighter, about 20 to 50% of its raster equivalent according to MapTiler. Vector data are series of points and each pixel of the map doesn’t have to have information declared; a rectangle polygon covering thousands of square kilometers can still be defined with 4 points.
- It is stylized dynamically. While raster tiles need to be generated with their style embedded, vector tiles style can just be modified on the fly, without going through the laborious process of tiles generation that can take easily several hours/days.
- It’s fast. Moving through a vector tile map feels smooth, there is no apparent tile loading.
- What you request is what you get. You directly query the tiles, not some sort of other service along your tiles.
It’s an amazing standard to visualize spatial data in a web map. Obviously it’s not suitable for all kinds of data, you have to have discrete data that make sense to be visualized as vector; I doubt that raw satellites images as vector tiles are a good idea.
Installing PostgreSQL and PostGIS
First thing first, we need to store data somewhere. Martin is designed to be used with PostGIS, PMTiles and MBTiles, we’ll explore the PostGIS alternative.
The following commands were used on an Ubuntu distribution.
Let’s start by installing PostgreSQL:
1
apt install postgresql
Then the PostGIS extension:
1
apt install postgis
We’ll already set things up in the database by creating a dedicated user, creating a database and creating the PostGIS extension in there. From psql, create a user:
create user martin_usr with password 'my_password';
Create a database:
create database martin_db;
Go to your new database (\c martin_db) and create the extension:
create extension postgis;
We won’t cover here the more extensive tuning of the database. You should be set on the database side for this example.
Downloading some data
Obviously you’ll want some data to serve as vector tiles. In a production environment you’ll probably want to serve your own data, so this step would probably not be necessary. For the example we don’t have any data yet, so we’ll use some from osm through GeoFabrik. Since I’m in Switzerland, let’s download data over the country:
1
curl https://download.geofabrik.de/europe/switzerland-latest.osm.pbf -O
We are using osm2pgsql to import data into the database, so the .pbf format is ideal.
You can then load your data (apt install osm2pgsql if you don’t have the tool):
1
osm2pgsql -d martin_db -U martin_usr switzerland-latest.osm.pbf
We now have osm data over a whole country, easy right?
Now install Martin
Here comes the best part, the vector tile server itself. There are multiple ways to start working with Martin, we’ll use rust and its package manager cargo. If you don’t want to install those on your server you might prefer the Docker installation, or simply using binaries.
As said earlier, Martin is build in rust, and it’s accessible as a crate using cargo. You can first install rust:
1
curl --proto '=https' --tlsv1.2 -sSf https://sh.rustup.rs | sh
Then install Martin:
1
2
cargo install martin
martin --help
And that’s it! Martin’s here.
Can’t be that simple right?
Finally, you can run your new server:
1
martin "postgresql://martin_usr:my_password@localhost:5432/martin_db"
Martin can discover geometric tables in the database from the given url, so by default everything is served. So yes it can be that simple! Obviously environment variables need to be set, passwords hidden etc. But you have an idea of the process.
You can try by yourself reading the catalog:
1
curl http://0.0.0.0:3000/catalog | json_pp
1
2
3
4
5
6
7
8
9
10
11
12
13
14
15
16
17
18
19
20
21
22
{
   "fonts" : {},
   "sprites" : {},
   "tiles" : {
      "planet_osm_line" : {
         "content_type" : "application/x-protobuf",
         "description" : "public.planet_osm_line.way"
      },
      "planet_osm_point" : {
         "content_type" : "application/x-protobuf",
         "description" : "public.planet_osm_point.way"
      },
      "planet_osm_polygon" : {
         "content_type" : "application/x-protobuf",
         "description" : "public.planet_osm_polygon.way"
      },
      "planet_osm_roads" : {
         "content_type" : "application/x-protobuf",
         "description" : "public.planet_osm_roads.way"
      }
   }
}
Visualize data using QGIS
Once the server is running we can easily visualize our data in a client. Starting QGIS 3.14,
Layer > Add Layer > Add Vector Tile Layer
And enter the url then OK:
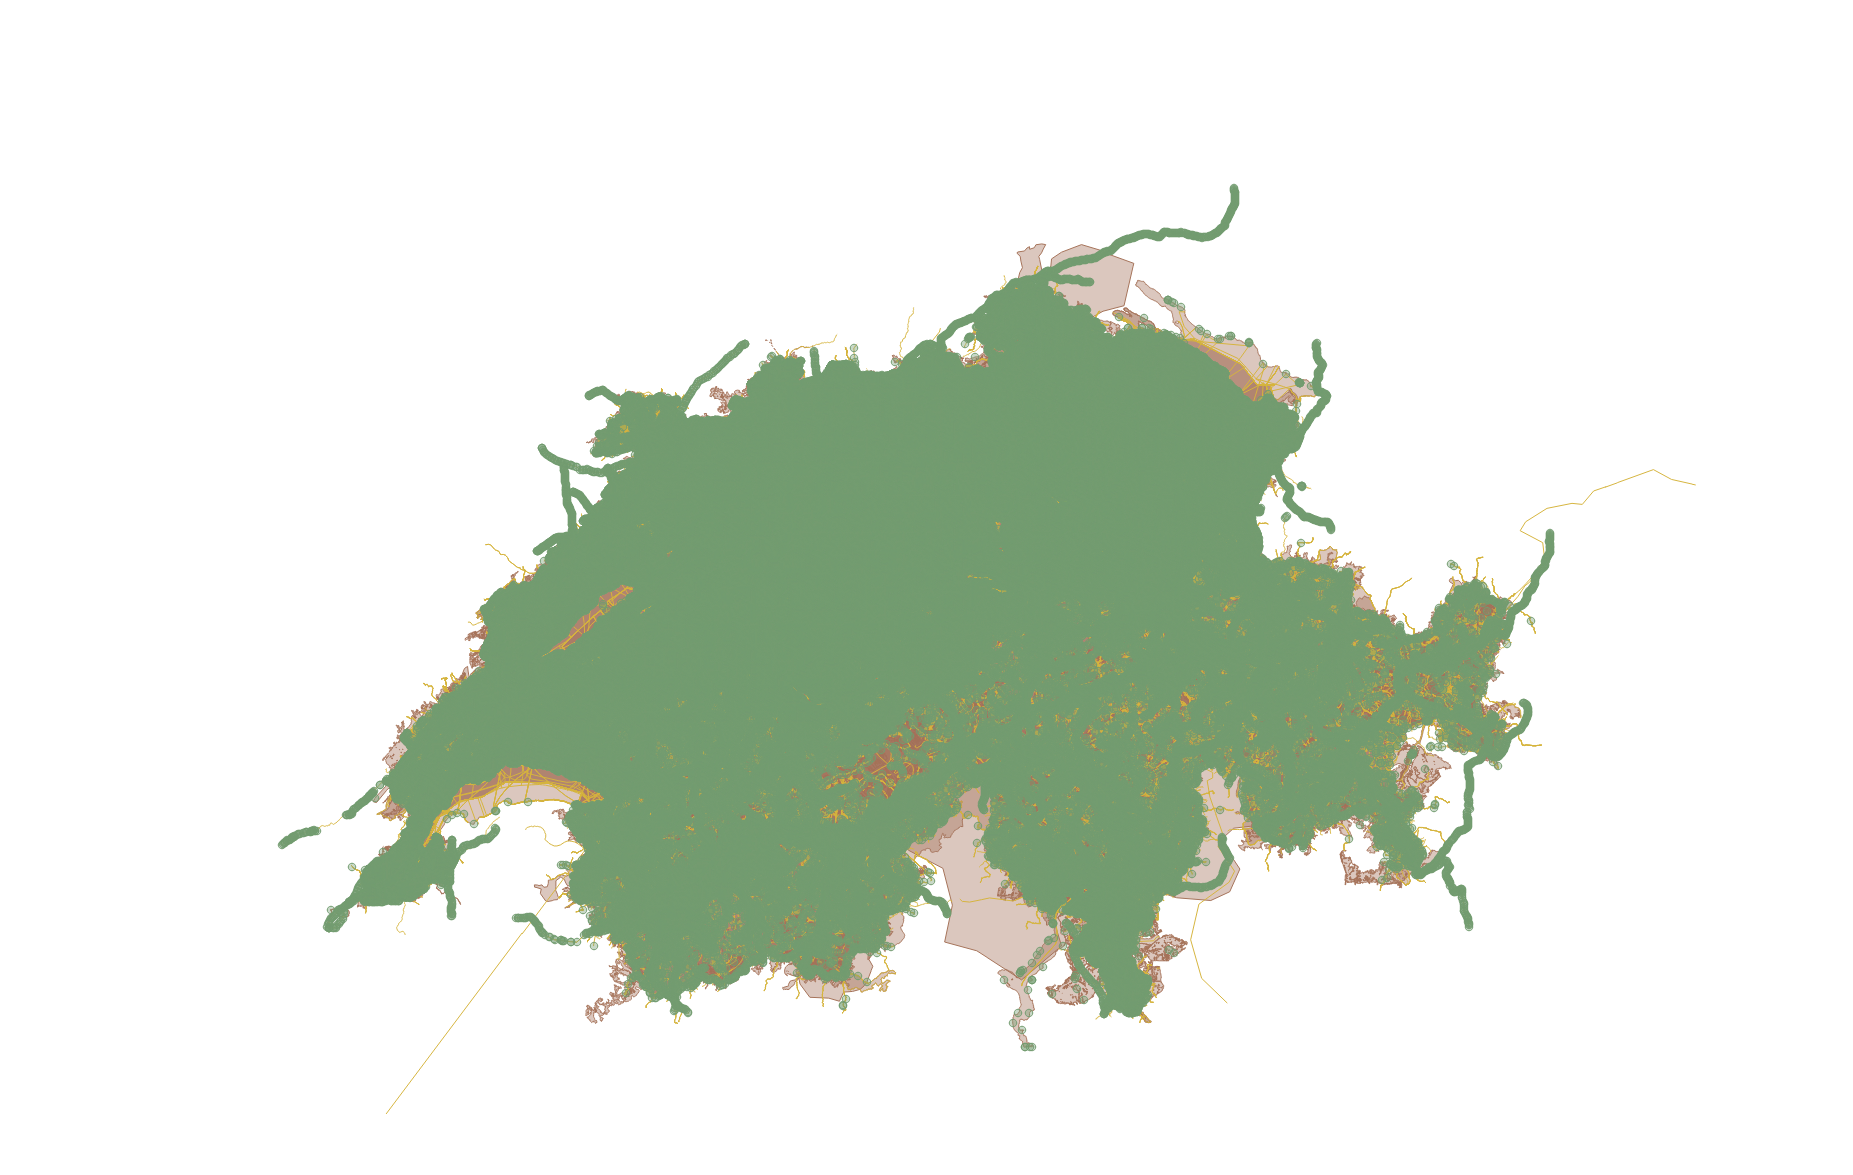
http://localhost:3000/planet_osm_line,planet_osm_point,planet_osm_polygon/{z}/{x}/{y}
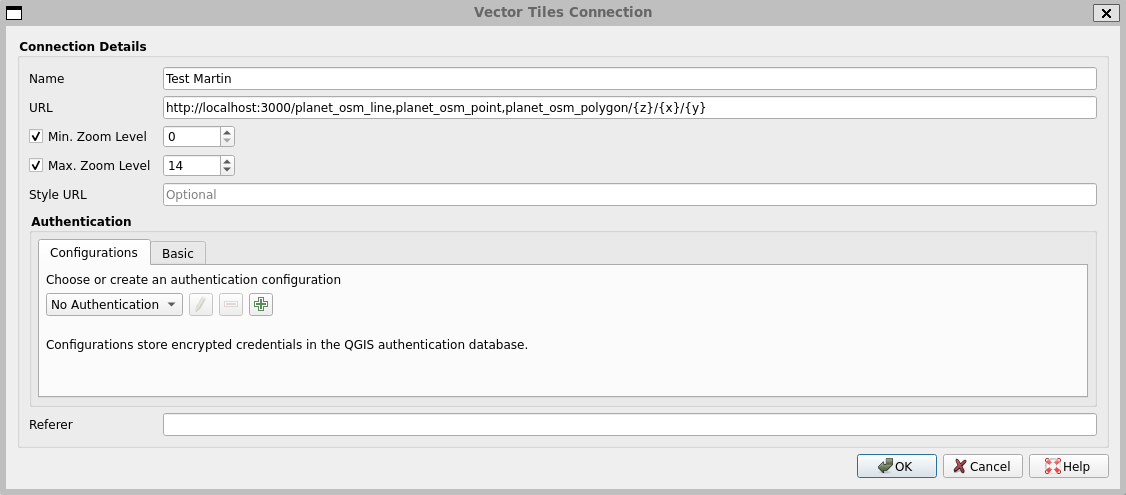
You should see a rather absurd amount of data.
To conclude
Here is how to get started with Martin, a rust vector tile server. It’s just the start, we don’t cover here the creation of symbology and more in depth configurations and optimization, but it gives an idea of how easy and powerful such a tool can be.